How to: Use Snapseed for Multiple Exposure
A Multiple exposure image of Ozzie the Bull in New Street Station in Birmingham using Snapseed
Snapseed is an extremely handy, and most importantly, FREE app that enables me to edit on the go - not only that, but is has an excellent Multiple Exposure function that I want to introduce you to here. I use Snapseed with images I have taken on my phone (a fairly old Samsung A52) but also if I am out and about without a laptop or my PC (that tends not to fit in my backpack!), with photos downloaded from my ‘big’ camera. The picture above is Ozzie the bull in Birmingham New Street station combined with people at the departures board. Both of those exposures were taken with my phone.
Once you have downloaded it it can look a bit confusing so I’ll take you through the menu and an image that I made with exposures just from my phone - and here it is….
A multiple exposure image of The National Gallery, London made using Snapseed
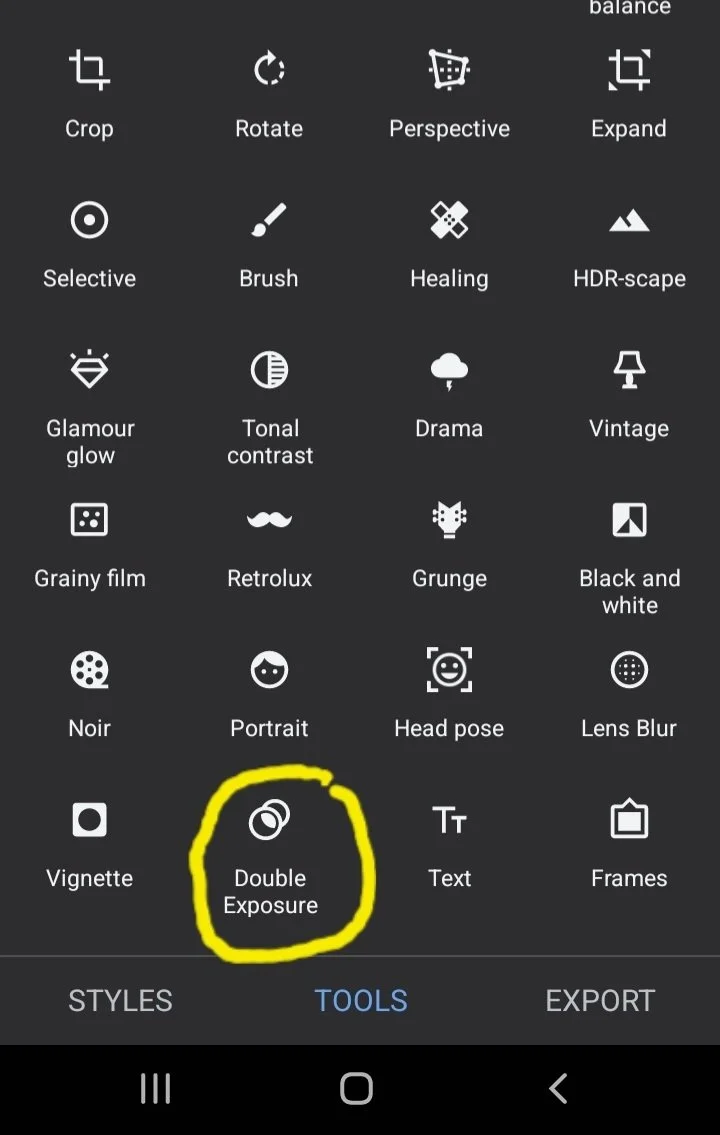
When you open the app you have a big plus button in the middle of the screen to press to bring in your first exposure. If, like me here, you have used it before you need to press open in the top left hand corner to add your new photo. Once your new photo is on the screen you can edit it with most of the usual controls that you would find in Lightroom, Photoshop and Affinity (circled in the bottom left picture). You can also change the ‘style’ if you want although there are so many different things you can do with the tools I find I rarely do. The multiple exposure button is a bit hidden and you have to scroll down on the list to find it - circled in the bottom right picture.
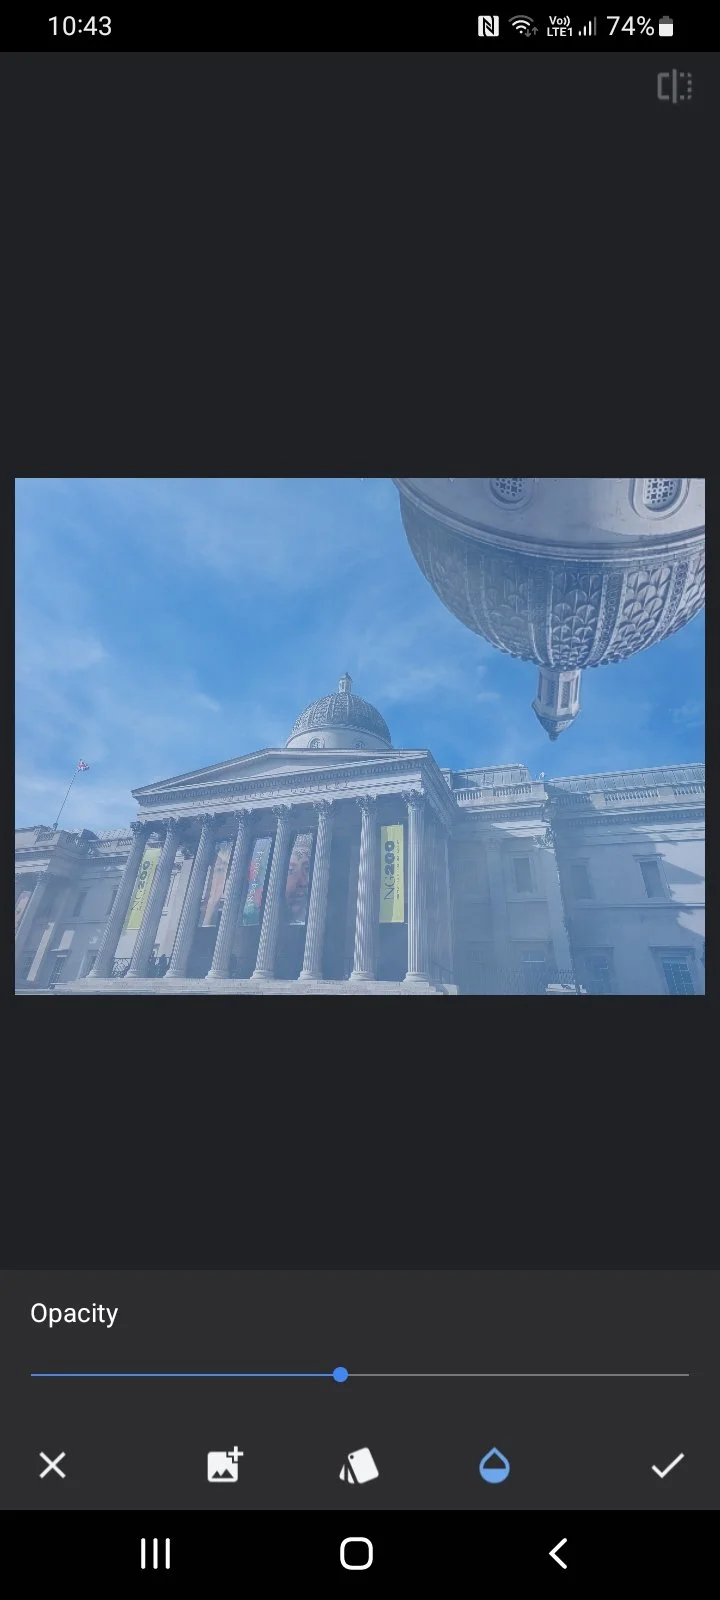
Once you press the multiple exposure button you add your next photo. In the case below I have added the same photo again, which, as you can see, it allows you to do! You can resize the new image and move it around so you can get it into the best composition for you (see the top left picture), you can change the opacity of the new layer so you can see more, or less of the original layer. You can also apply a blend mode. Now I do this all the time in photoshop but Snapseed has so many little quirky buttons which we will come to in the next section that I tend to keep this in default mode. If you want to add more layers you can do, just press the double exposure again and add a third layer…..then a fourth etc!
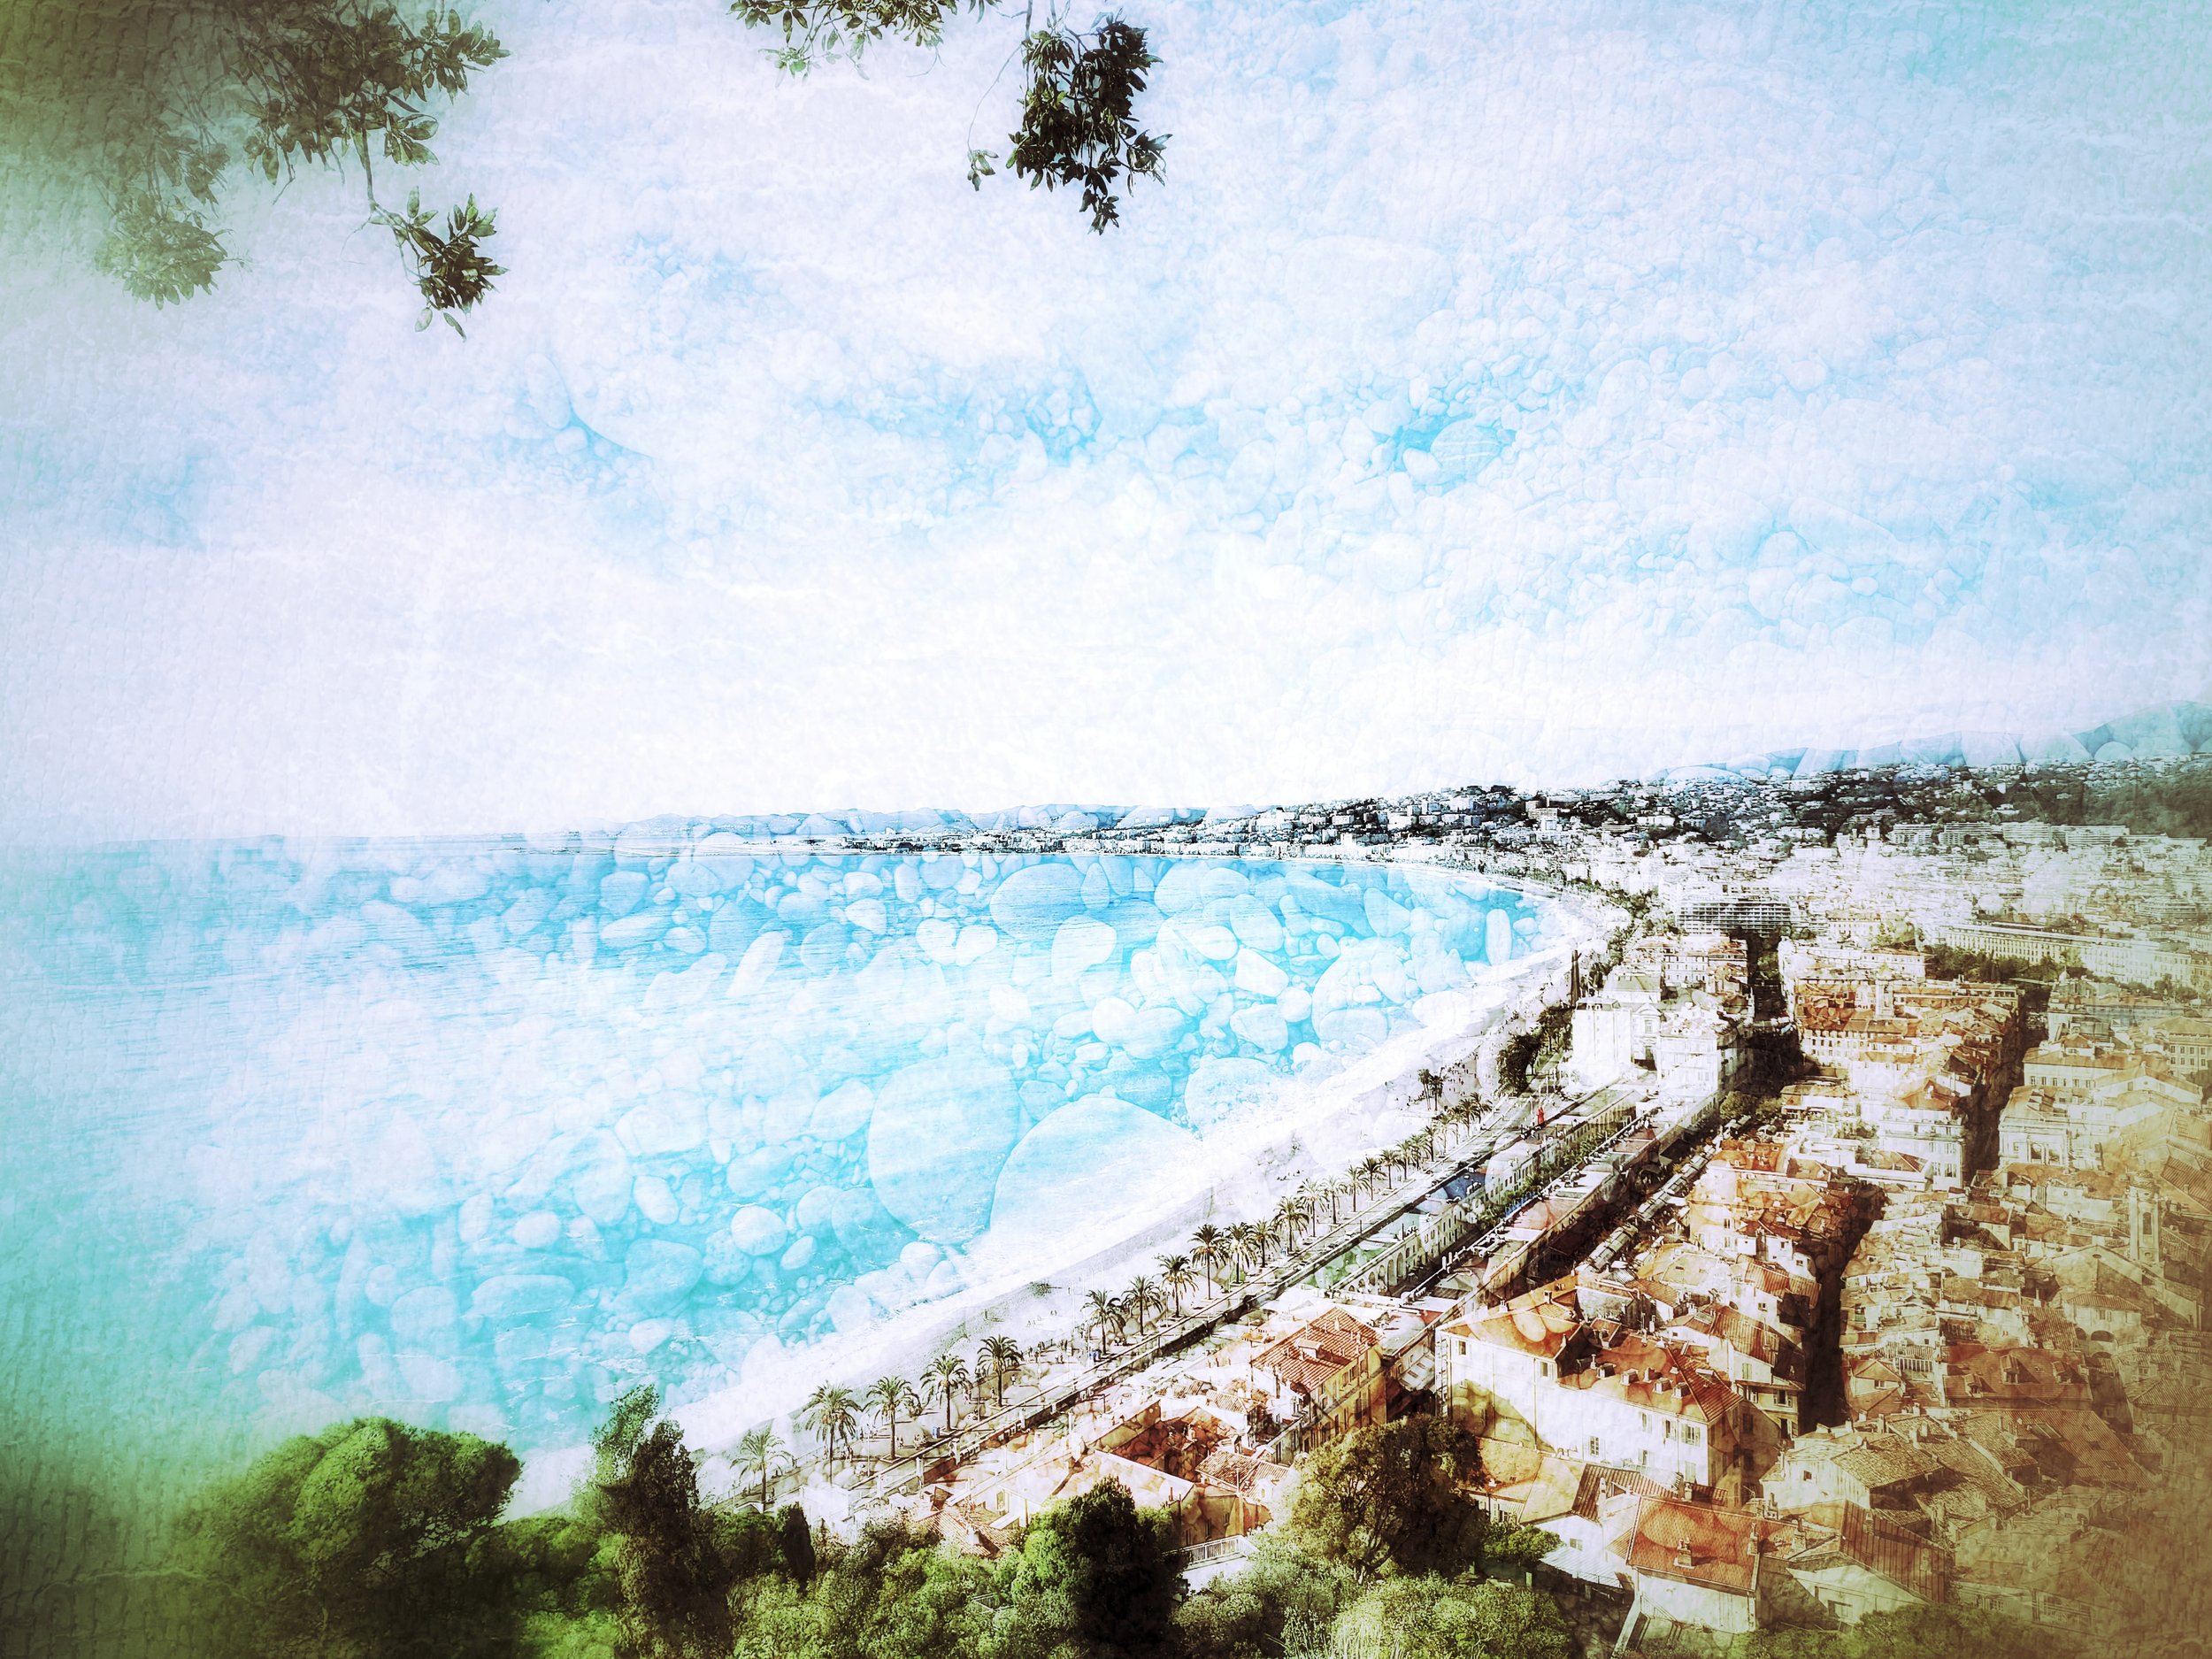
The next actions I tend to use are the middle buttons here - particularly glamour glow, drama, vintage and grunge. They all have different effects on the image you are producing but as a rough guide glamour glow warms and softens your image, drama can sharpen your image and give a different feel to the tones, vintage has a nice vintage quality (strange that!) and comes in a variety of tones, grainy film does sharpen the image but also adds grain and grunge can be really interesting but I find works best with one definite subject. They all look different with different combinations of images so your best bet is to play! You can always use the undo button in the top right hand of your screen if you decide you don’t like it! For my image here I used (in order) glamour glow, grainy film, vintage (blue) and then drama. To finish off your image you can also add a frame which is very quick and easy to do with the bottom right hand button. Lastly all there is to do is to export it. I have found without changing any of the settings it is fine for social media although for anything larger you may wish to change these settings.
As you can see Snapseed is a great little tool to use for both phone and camera images and I love being able to make multiple exposures whilst waiting for the train, over lunch or even in a 10 minute gap in my lunch break!
If you would like to see a live demo of Snapseed then do join my getting started with Snapseed course found here and if you haven’t already - do sign up to my newsletter for more hints and tips here and as always please leave any comments you have below underneath some extra inspiration I have added!


