How to: create Multiple Exposure Photography Images using the Fujifilm X-T5
The Settings
The Fijifilm X-T5 has some really flexible settings for Multiple Exposure photography and is a lovely camera to use for this purpose.
Firstly, as the below image shows you need to turn it on - simply go to the menu, scroll to the camera icon and look on page 3 of 3 and select ‘on’ Easy right! You will then be asked which blend mode you want your camera to use to process the image you take - you have the choice here and I will have a closer look at some of these later in this article but in general average is the easiest to use and works on the vast majority of subjects, it is certainly the one that I use the most.
You take your first shot and will be given the option to:
Continue shooting the next layer
Retake the image you have just photographed
Exit the process
If you choose 1 you will see your original image in the view finder and be able to compose and take your second layer. Choosing 2 enables you to get rid of that layer and reshoot it and 3 enables you to keep your image as a single shot without any multiple exposure. You can keep adding to your multiple exposure up to 9 layers but always with these 3 options after each shot. This enables a great deal of flexibility as you can then, for example, reshoot your 4th layer or exit after 6 layers have been taken. It also means that, although a bit fiddly, you can leave the multiple exposure option ‘on’ all the time, exiting after singles when the composition suits or adding extra layers when wanted. The Fuji X-T5 does not turn off this feature after a certain time period so you could spend a whole day using the camera in this way. This flexibility is good as the Fuji does not allow you to start your multiple exposure with an image you already have on an SD card.
The Blend Modes
There are 4 blend modes on the Fujifilm X-T5 to choose from and each has different properties. The camera will take the layers that you shoot and combine them together using the properties of these modes and save the image as a JPEG. The constituent images will be still there on the camera as RAW files, if this is what you usually use, so if the blend mode does not suit you you can always import these files into an editing tool such as Photoshop and use the many more blend modes there (for more info see my blog post: The Blend Modes - from overlay to Hard Mix) There are enough blend modes on the Fuji x-T5 to stimulate a lot of creativity though and I do love playing with in camera Multiple Exposure - it’s very satisfied to have created something then and there.
Additive and Average
These two blend modes are at the top and are about exposure. The additive mode will add the exposures together on your image so you will find that unless you use exposure compensation for the shots the image will become blown out within a couple of layers. I have not really found a use for the additive blend mode but if you have then do let me know in the comments below.
Average takes the exposure as an average of all of the layers and this mode is the one I find I use more often than not. The image above is one layer of the silhouetted trees and a layer of sunrise clouds just to give a more sparkly effect taken in average blend mode.
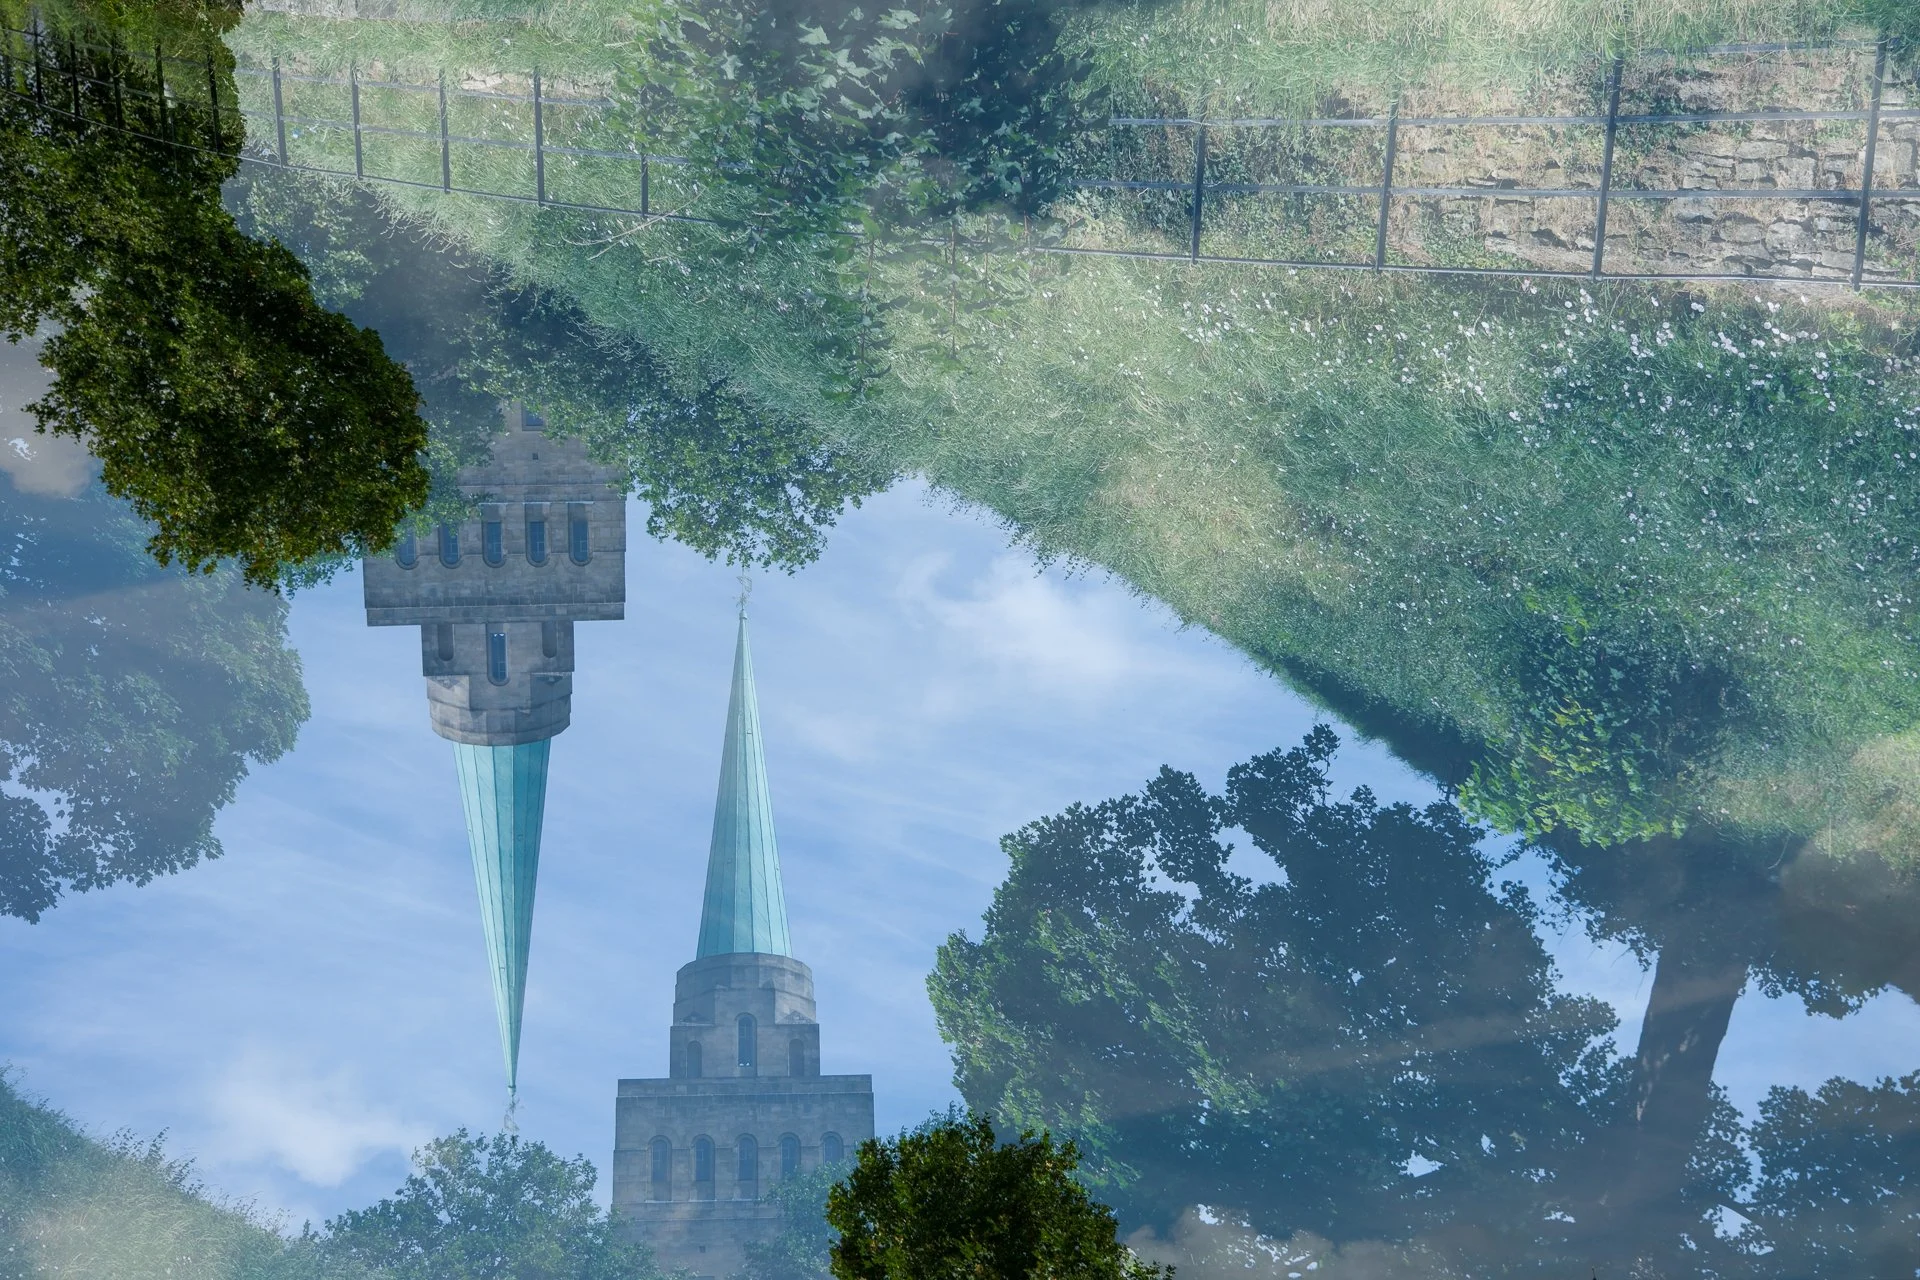
The image below is from one of my favourite compositions using in camera multiple exposure and in between the first and second layer I have rotated the camera 180 degrees (you do get some funny looks when you do this!) Using the viewfinder rather than the back screen I find really helps to get the images lined up in the way that you want. If you want to try this out in I lead a workshop that includes this technique In Camera Multiple Exposure Workshop - click for details.
One of my other favourite techniques with the average blend mode is to take one layer out of focus and one in focus such as the flower image below. This does work particularly well with single blooms on a flower but I have done this with a multitude of different subjects as well.
Light and Dark modes
These modes are also what they say on the tin - the light mode takes the light parts of the image and shows those for each layer and the dark mode (unsurprisingly) takes the dark parts of the image, combining them. I have not played a great deal with the light mode but I have recently been working out how to combine images using the dark mode without producing something so abstract you can’t see what it is. I have found that using flowers and making sure that you almost line up the bright petals, usually one in focus and one out of focus works well. This produces a really nice bright rendition of the flowers and a more diffuse than normal background and the two images below were created in this way. I will be continuing my experimentation so watch this space…..
If you have any thought on this blog then please do comment below and if this is the first time you have been exposed to multiple exposure then do have a look at my galleries, courses and workshops and of course, feel free to drop me a line…


